Vellum Cloth in Houdini & Solaris: A Practical Workflow
A grounded look at simulating Vellum cloth in Houdini, retiming it, and lighting the result in a Solaris/Redshift studio scene.
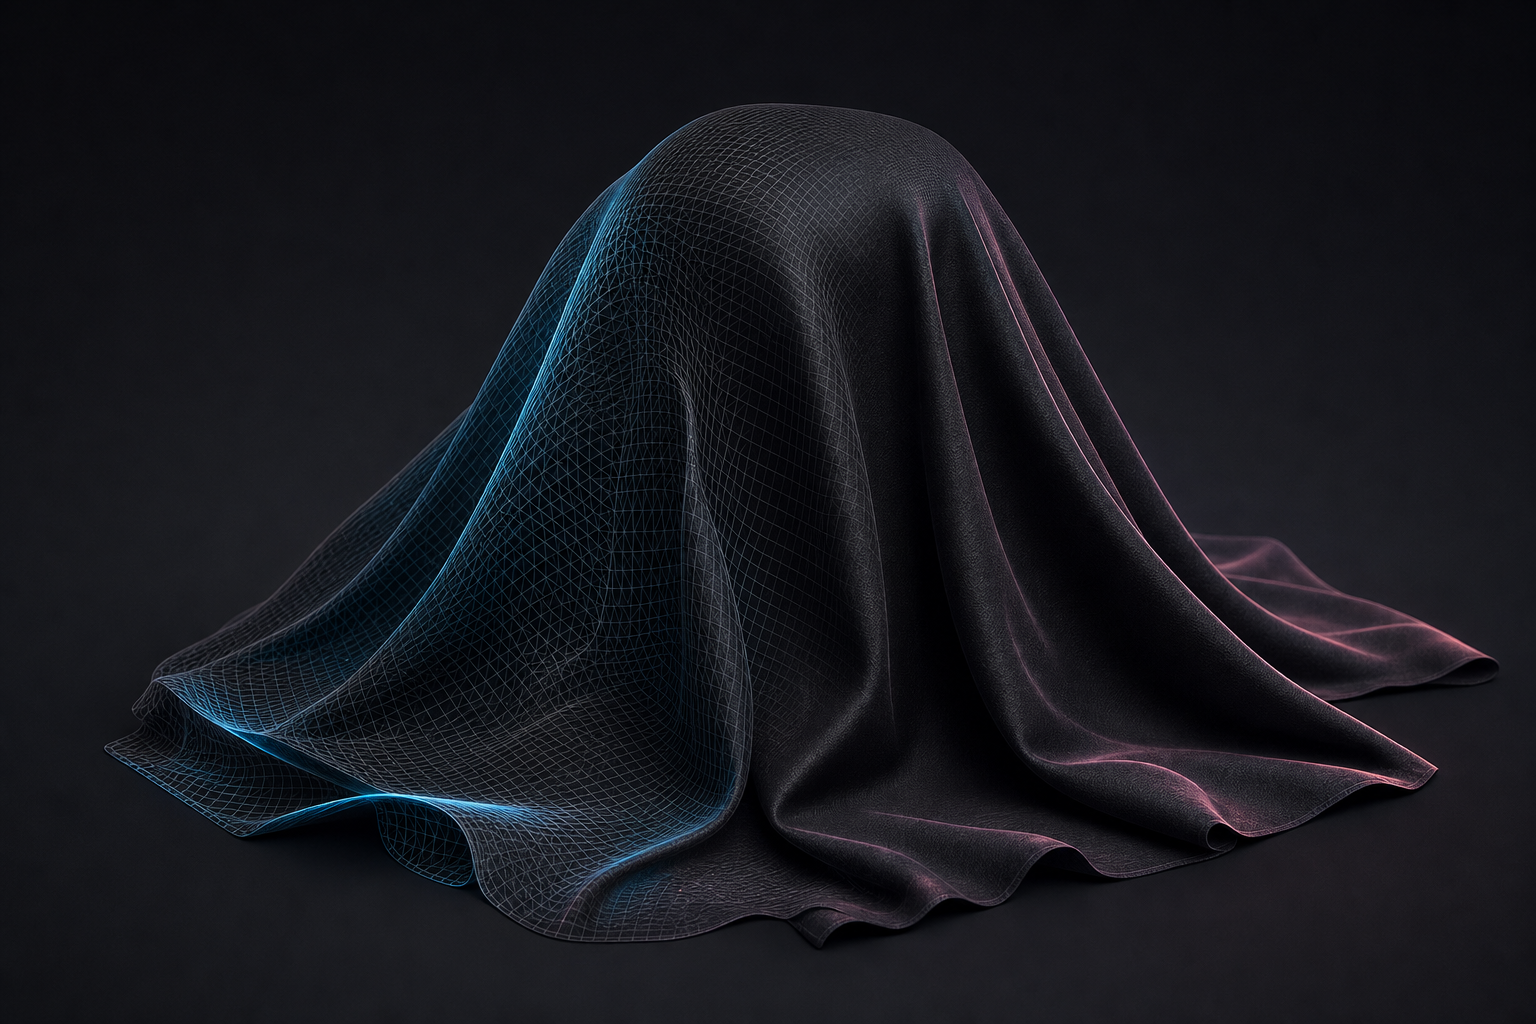
Vellum makes cloth in Houdini approachable, but a believable result still comes down to a few fundamentals: good constraints, enough substeps, and control over timing.
The fundamentals
- Constraints: start simple (stretch + bend); add weld/attach only where needed.
- Substeps: most "jittery" or exploding cloth is under-substepped. Raise substeps before raising stiffness.
- Collisions: give colliders thickness; thin geo is the usual culprit for poke-through.
Retiming and art-direction
Sims rarely land on the exact beat a shot needs. Caching the simulation and then retiming the cache (rather than re-simulating) lets you art-direct timing without losing the solve. Cache to disk early so playback stays fast.
Lighting it
A cloth sim only sells if it's lit well. Dropping the cache into a ready studio scene, multishot cameras, Redshift lighting and AOVs, turns a technical test into a finished shot.
That's exactly what the Vellum Cloth using Solaris & Redshift scene provides: a production .hiplc with the sim and a Solaris/Redshift studio rig you can fork. If you want to go deeper on procedural deformation, the free Points to Surface Morph tutorial covers related VOP/MOPs techniques.
Get the fundamentals right, cache early, and treat lighting as part of the cloth work, not an afterthought.
Want the actual Houdini files?
Production scene files, HDAs and free video tutorials, built on real shots.