Particle Growth FX in Houdini with MOPs & Redshift
How spread / infection-style particle growth works in Houdini, and how to animate, optimise and render it with MOPs and Redshift.
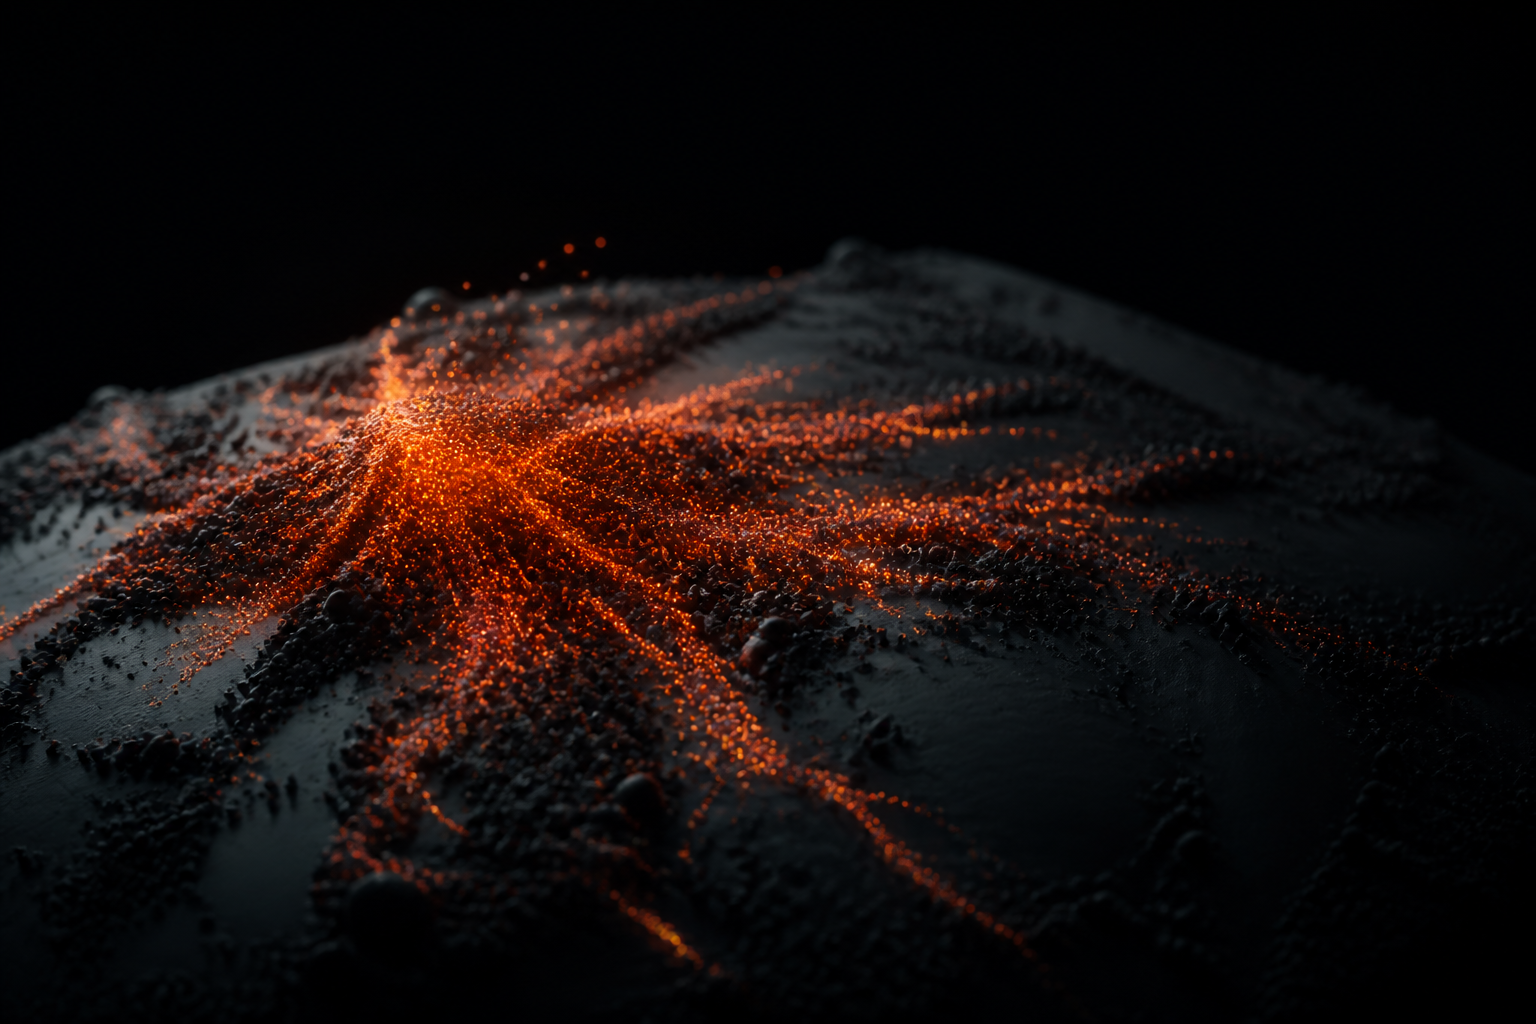
"Growth" or "infection" effects, detail spreading across a surface, are everywhere in motion design. In Houdini they come down to a spread mask plus animation driven by that mask.
The core idea
- Start from a point cloud or surface.
- Build a spread mask, an attribute that grows outward from seed points over time.
- Drive scale, emission, colour or instancing with that mask.
- Add noise so the growth feels organic, not uniform.
MOPs makes the spread/mask step fast and art-directable instead of hand-wiring SOP solvers.
Optimising
Growth sims get heavy quickly. Delete particles outside the camera frustum, cache to disk, and add post-sim attributes that drive the look so you're not re-simulating to change shading.
Rendering
Redshift instances + a couple of well-placed lights and AOVs turn the sim into a finished frame. Keeping shading driven by sim attributes means look changes don't cost a re-cache.
Two free tutorials cover this end to end with project files: Particle Growth with MOPs & Redshift and Abstract Particles in Houdini & Redshift. For the rendering side, our Karma vs Redshift guide helps you pick an engine.
Master the spread mask and the rest of the effect is just art direction on top of it.
Want the actual Houdini files?
Production scene files, HDAs and free video tutorials, built on real shots.